How to Use a Nail Polish Pen: Step by Step
Share
A nail polish pen does the thing a brush and a bottle never quite manage: it puts the color exactly where you draw it. No pooling at the cuticle, no wobbly edge on your non-dominant hand, no cotton bud to clean up afterwards. Here is the routine for the Sweenly Nail Pen, from a bare nail to a finished manicure, plus the two ways to make it last.
What you need
- A Nail Pen in the shade of your choice (there are 22).
- Clean, dry nails. That is genuinely all that is required.
- Optional, for longer wear: the Long-Lasting Kit (UV Top Coat and UV Lamp).
Step 1: start on a clean, dry nail
Wash your hands and make sure there is no cream or oil left on the nail. That is the single most common cause of bubbles or lifting: not the pen, the hand cream you put on ten minutes earlier. No base coat is needed. On a clean nail the color grips on its own; a base coat only helps if your nails are ridged or fragile.
Step 2: shake, uncap, draw
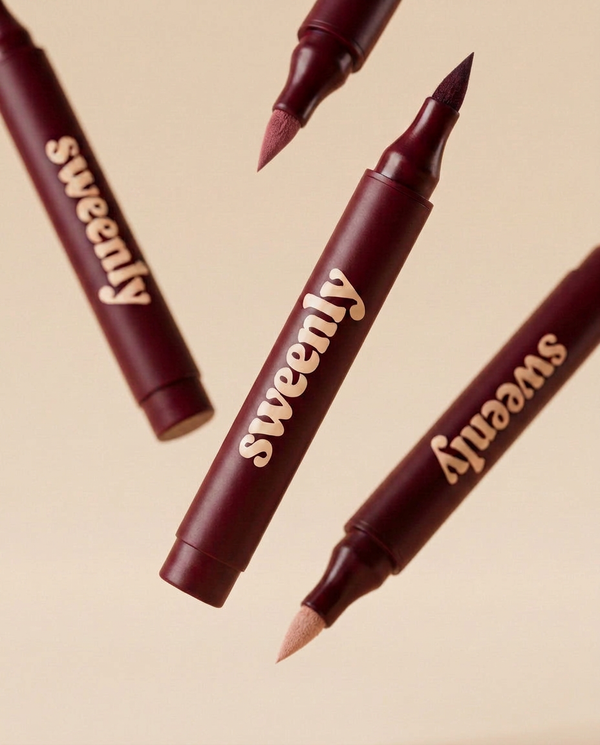
Shake the pen, take off the cap and put the tip on the nail, near the cuticle. Then draw the color toward the tip in one stroke, like you would with a marker. The felt tip lays down an even line and stops where you stop, so the edge stays clean. Cover the nail in two or three strokes side by side rather than going over the same spot repeatedly.
A tip for your other hand: rest your wrist on the table and move the nail under the pen, not the pen over the nail. The precision comes from the tip, not from your steadiness.
Step 3: two thin coats, not one thick one
One coat gives a sheer, tinted look. Two thin coats give full coverage, and they dry faster and wear better than a single thick coat. Let the first coat dry to the touch (a few minutes, like classic polish) before you add the second.
Step 4: choose how you finish
This is where the Nail Pen is different from what you are used to. There are two modes.
- On its own. Let the color air-dry and you are done. It wears like a nice classic polish, for a few days, and it makes sense for a weekend, an event, or when you like changing shades often.
- With the Long-Lasting Kit. Brush the UV Top Coat over the dry color, then put your nails under the UV Lamp for 45 seconds. The top coat sets, the color is sealed in, and you get a glossy, gel-like finish that holds much longer.
Step 5: removal
Without the top coat, a cotton pad with the Sweenly Remover lifts the color in a few seconds, no acetone and no scrubbing. With the top coat sealed under the lamp, a classic nail polish remover takes care of it in seconds. Either way the color comes off without damaging the nail.
Three mistakes to avoid
- Thick coats. They bubble and take forever to dry. Thin and twice is the rule.
- An oily nail. Degrease first, especially after hand cream or a shower.
- Leaving the cap off. Close it tight between coats so the tip stays soft and ready.
How far does one pen go?
About 20 to 25 manicures. One stroke covers a nail, so you use much less product than with a brush you have to reload and layer. If you want a few shades on rotation, the Nail Pen Pack lets you pick any 5 shades at 50% off.